Sculpfun C1 Mini on Mac: Software, Setup & Your First Engrave
Published: April 13, 2026
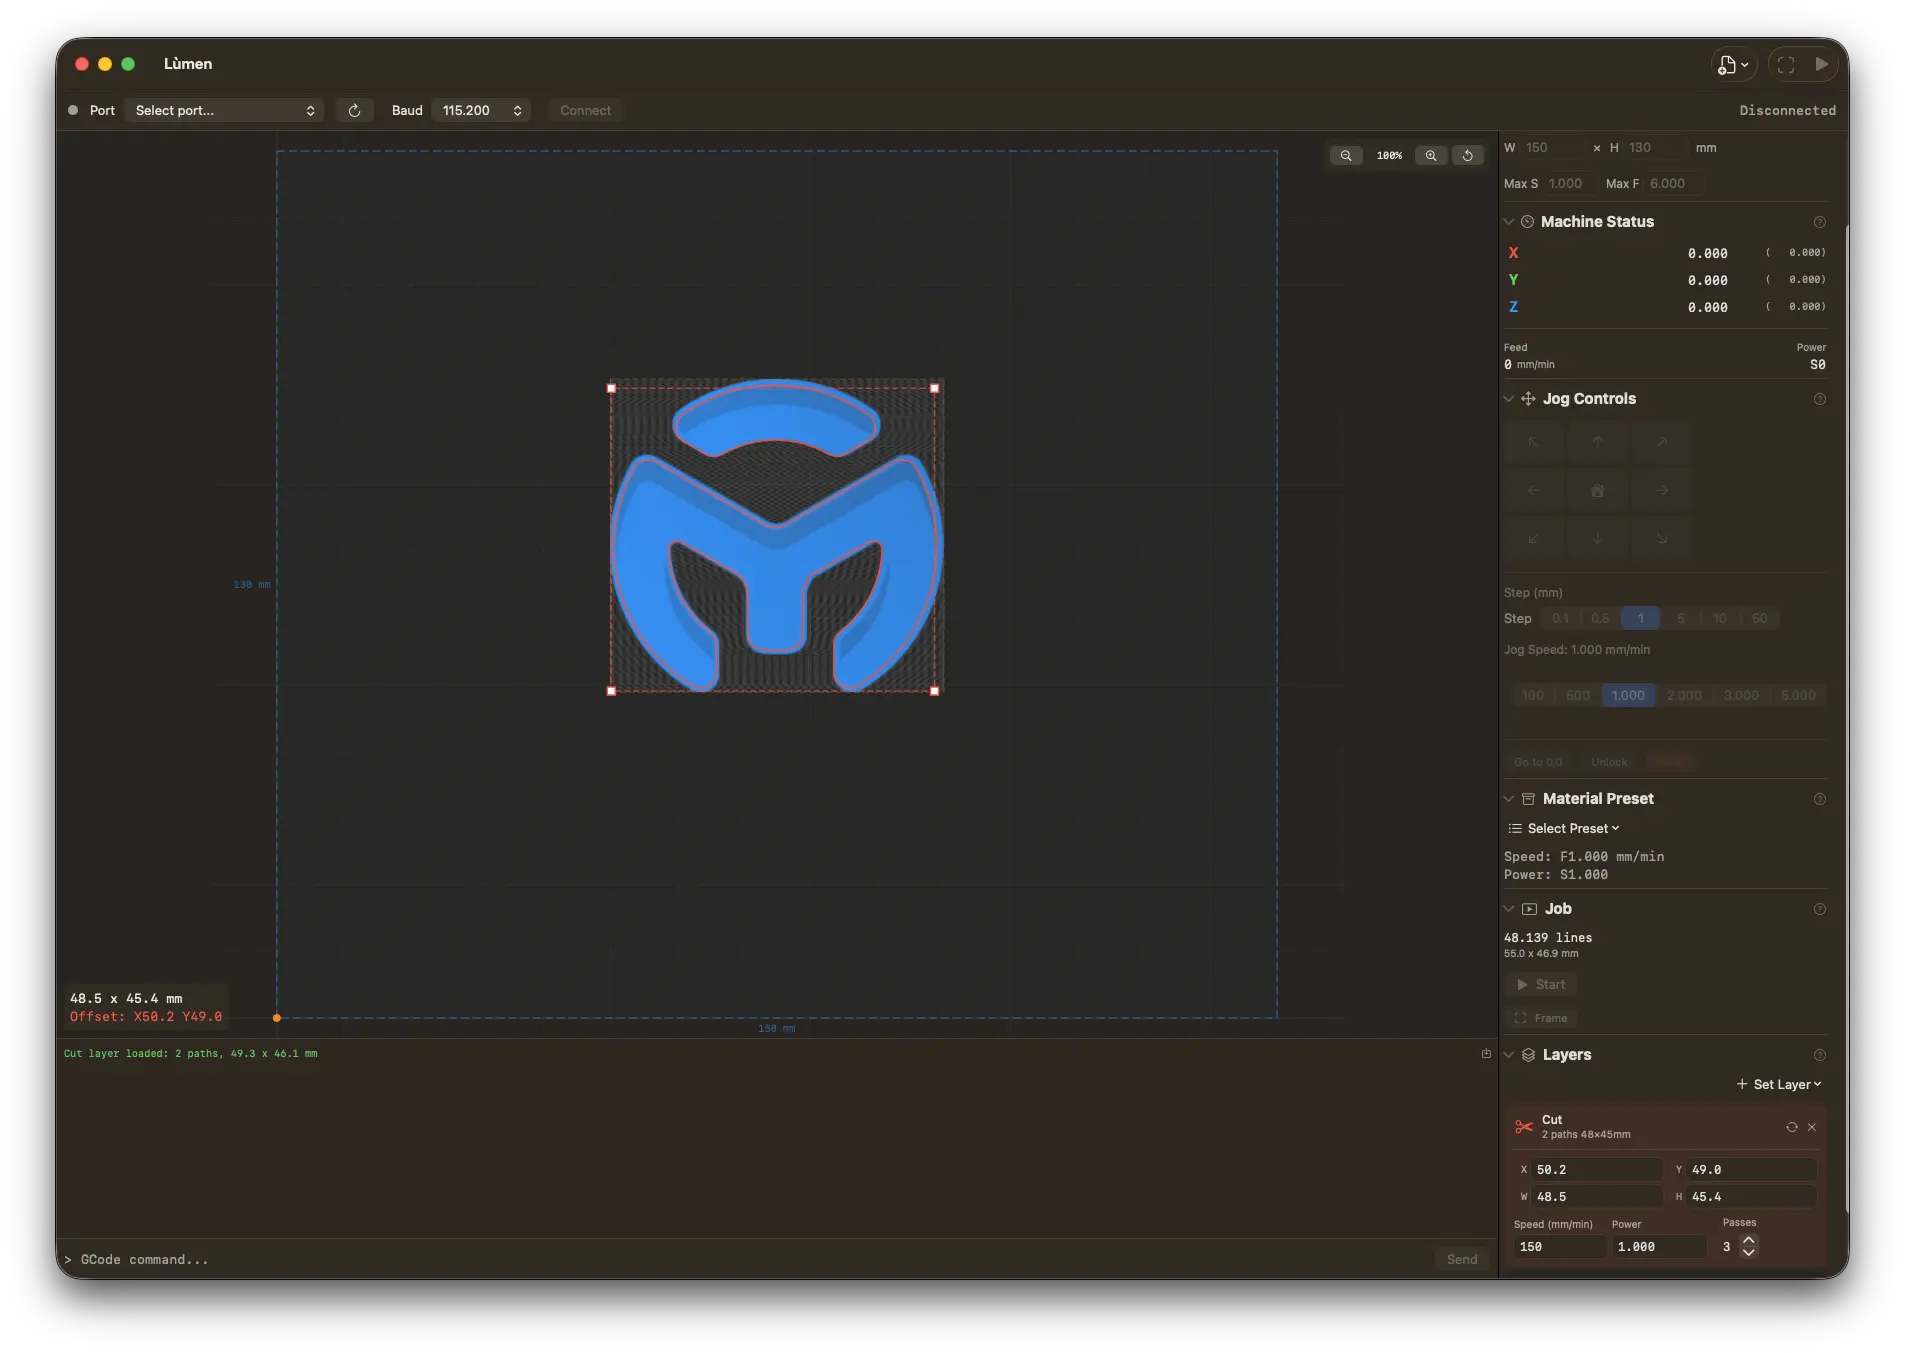
Lùmen — built for Sculpfun C1 Mini on Mac
Dedicated Sculpfun C1 Mini preset — 100×100 mm work area and 3W power baked in. Image engraving with 7 dithering algorithms, SVG cutting, and a built-in test grid to dial in settings on first try. Native macOS, €9.99 one-time, no subscription. 3-day free trial.
You just got a Sculpfun C1 Mini, powered it up, and discovered that the included software only works on Windows. If you are a Mac user, you are not out of luck. The C1 Mini speaks GRBL — an open protocol that any compatible application can use. This guide walks you through everything: choosing the right Sculpfun C1 Mini software for Mac, installing drivers, connecting the machine, running your first engrave, and dialing in settings for the best results.
If you own a larger Sculpfun model like the S30 or S9, see our general Sculpfun on Mac setup guide instead. This article focuses specifically on what makes the C1 Mini different and how to get the most out of its compact 3W laser on macOS.
What Makes the Sculpfun C1 Mini Unique
The C1 Mini is Sculpfun's entry-level portable laser engraver. It stands apart from the rest of the Sculpfun lineup in several ways:
- Compact and portable. The C1 Mini has a 160 x 160 mm work area — roughly the size of a large smartphone screen. It is small enough to fit on a desk or carry in a bag.
- 3W diode laser. This is a lower-power laser compared to the 5-10W modules on the S-series models. It is designed for engraving on wood, leather, cardboard, and similar materials rather than heavy cutting.
- USB-C with CP2102 chip. Unlike most Sculpfun machines that use the CH340 USB-to-serial converter, the C1 Mini uses a CP2102 chip from Silicon Labs. This matters for driver compatibility on macOS.
- GRBL firmware. Under the hood, the C1 Mini runs the same open-source GRBL motion controller as every other Sculpfun. Any GRBL-compatible app will work.
- Ideal entry point. If you are new to laser engraving or want a machine for small projects, personalized gifts, or learning the craft, the C1 Mini offers a low-cost way in without taking over your entire workspace.
Mac Compatibility and Drivers
The first thing to sort out when using the Sculpfun C1 Mini on macOS is the USB serial driver. The C1 Mini connects via USB-C and uses a CP2102 USB-to-serial chip internally.
macOS 15 Sequoia and later
If your Mac runs macOS 15 Sequoia or newer, you are good to go. Apple includes built-in drivers for the CP2102 chip. Plug in the C1 Mini with a USB-C cable, power it on, and macOS will recognize the device automatically. No driver installation is needed.
macOS 14 Sonoma and earlier
On older macOS versions, you need to install the CP2102 driver manually. Download it from the Silicon Labs website (search for "CP210x USB to UART Bridge VCP Drivers"). Run the installer package, restart your Mac, and the C1 Mini will then appear as a serial device when connected.
Verifying the connection
After plugging in the C1 Mini via USB:
- Open System Information (Apple menu → About This Mac → System Report)
- Go to Hardware → USB
- Look for a device named CP2102 USB to UART Bridge Controller or similar
If nothing appears, try a different USB-C cable. Some cables bundled with devices are charge-only and do not carry data. A direct connection to your Mac (rather than through a hub) is also worth trying if you run into issues.
Sculpfun C1 Mini Software Options for Mac
Sculpfun officially recommends LaserGRBL, a popular free application. However, LaserGRBL is Windows-only. It does not run natively on macOS, and running it through Wine or a virtual machine is unreliable for real-time serial communication with a laser. For a deeper look at alternatives, see our laser engraver software for Mac comparison.
Here are your real options for the Sculpfun C1 Mini on Mac:
- LightBurn — A cross-platform laser control application. It supports the C1 Mini, but is a one-time purchase of $99+ depending on the license tier (Core or Pro). It is feature-rich and widely used, but the paid update renewals add up — especially if you own an entry-level machine. See our LightBurn alternative comparison for more details.
- Lumen — A native macOS app built specifically for GRBL laser engravers. It costs €9.99 one-time (no subscription), includes a 3-day free trial, and has a built-in preset for the Sculpfun C1 Mini that automatically configures the 160 x 160 mm work area, power limits, and speed settings. It is written in Swift and SwiftUI, so it feels like a proper Mac application.
- LaserWeb — A free, browser-based option that requires running a Node.js server locally. It works but involves more setup and lacks the polish of a native app.
This guide uses Lumen for the step-by-step instructions because its C1 Mini preset eliminates manual configuration, and the one-time price makes sense for an entry-level machine.
Step-by-Step Setup with Lumen
Here is how to go from unboxing to your first engrave with the Sculpfun C1 Mini and Lumen on macOS.
1. Connect the C1 Mini
Plug the USB-C cable from the C1 Mini into your Mac. Power on the engraver. Open Lumen and look at the Connection section in the sidebar. The serial port dropdown should show a device like /dev/tty.usbserial-XXXX or /dev/tty.SLAB_USBtoUART. Select it and click Connect.
You should see the GRBL welcome message (something like Grbl 1.1h) appear in the console at the bottom. This confirms your C1 Mini is talking to your Mac.
2. Select the C1 Mini preset
Open the Machine section in the sidebar and choose Sculpfun C1 Mini from the preset list. This automatically sets:
- Work area: 160 x 160 mm
- Maximum spindle value ($30)
- Appropriate default feed rates for the 3W laser
Getting the work area right matters. If you leave a larger machine preset selected, Lumen might try to move the laser head beyond the C1 Mini's physical limits and trigger alarm errors.
3. Home the machine
Click the Home button or send $H in the console. The laser head moves to its limit switches and establishes the coordinate origin. The status should change to Idle with coordinates near 0,0. Always home before your first job.
4. Import an image
Click Import Image and select a JPG or PNG file. For your first test, pick a high-contrast image — a logo, a simple illustration, or a bold photograph. High contrast translates better to laser engraving, where you are essentially burning dots into a surface.
Choose a dithering algorithm. For wood or cardboard, Atkinson is a great starting point. It produces high-contrast output that is forgiving on natural materials and works well even if your focus is not perfectly dialed in.
5. Set parameters and engrave
Position the image on the canvas within the 160 x 160 mm work area. Use the Frame button to have the laser head trace the outline without firing, so you can verify placement on the material. Then set your power and speed (see the settings section below), put on your laser safety goggles, and press Start.
Lumen shows a 5-second countdown before the job begins. You can monitor progress in real time and adjust power and speed overrides on the fly if the engraving looks too light or too dark.
Best Materials for the 3W C1 Mini Laser
The C1 Mini's 3W diode laser is well-suited for engraving but limited for cutting. Here is what works and what does not:
Works well
- Untreated wood — basswood, plywood, bamboo. The most popular material for laser engraving. Burns cleanly at moderate power.
- Cardboard and paper — excellent for prototyping designs and testing settings before moving to more expensive materials.
- Leather — natural, undyed leather engraves beautifully. Avoid synthetic or PVC-based leather, which releases toxic fumes.
- Dark acrylic — black or dark-colored acrylic can be surface-engraved. Clear acrylic is nearly invisible to a diode laser.
- Cork — engraves cleanly at low power. Great for coasters.
- Painted or anodized surfaces — the laser removes the surface coating to reveal the material underneath.
Does not work
- Bare metal — a 3W diode cannot mark untreated metal. You would need a fiber laser or a marking compound like Cermark.
- Glass — the laser beam passes through transparent glass without effect. Frosted glass can sometimes be marked, but results are inconsistent with a diode laser.
- PVC or vinyl — releases chlorine gas when burned. Never engrave PVC-based materials with any laser.
- Thick plywood for cutting — the 3W laser can cut very thin material (1-2 mm balsa) with multiple slow passes, but it is not practical for cutting 3mm+ plywood. For that, look at the Sculpfun S30 or similar higher-power machines.
Recommended C1 Mini Settings
The C1 Mini's 3W laser requires different settings than the more powerful S-series models. Here are starting points for common scenarios:
Engraving on wood (basswood or plywood)
- Speed (feed rate): 1500 – 2000 mm/min
- Maximum power: 800 – 1000 (out of 1000 S-value, i.e., 80-100%)
- Minimum power: 0
- Resolution: 8 lines/mm
Notice the higher power percentage compared to a 5W or 10W machine. The C1 Mini has less power to work with, so you typically run it at 80-100% for wood engraving and compensate by lowering the speed.
Engraving on cardboard or paper
- Speed: 2000 – 3000 mm/min
- Maximum power: 300 – 500 (30-50%)
- Resolution: 8 lines/mm
Engraving on leather
- Speed: 1000 – 1500 mm/min
- Maximum power: 600 – 800 (60-80%)
- Resolution: 8 lines/mm
These are starting points. Every piece of material is slightly different. Use Lumen's built-in test pattern generator to create a power-vs-speed calibration grid on a scrap piece of your target material. This takes a few minutes and saves you from wasting material on incorrect settings.
Troubleshooting
No serial port appears
If the C1 Mini does not show up in the serial port dropdown after connecting:
- Check your cable. The USB-C cable must support data transfer, not just charging. Try a different cable if you are unsure.
- Avoid USB hubs. Some USB-C hubs and docks do not pass through serial devices. Connect directly to a port on your Mac.
- Install the CP2102 driver. If you are on macOS 14 or earlier, you need the Silicon Labs CP210x driver installed. macOS 15 and later include it automatically.
- Power cycle the engraver. Turn the C1 Mini off, wait a few seconds, turn it back on, and check the dropdown again.
ALARM errors after connecting
ALARM:1 is a hard limit alarm. It typically means the machine has not been homed, or a job tried to move the laser head outside the 160 x 160 mm work area.
- Send
$Xin the console to clear the alarm - Home the machine with
$H - Make sure the C1 Mini preset is selected (not a larger machine preset, which would allow coordinates beyond 160 mm)
ALARM:2 means the homing cycle failed. Check that the laser head can move freely and that the limit switches are not obstructed.
Weak or barely visible engraving
If the engraving is too faint on wood or leather:
- Check the focus. The C1 Mini includes a focus gauge. The laser beam must be focused precisely on the material surface. Even 1-2 mm off makes a significant difference on a 3W module.
- Increase power. Unlike higher-power machines where you often engrave at 40-60%, the C1 Mini frequently needs 80-100% power for visible results on wood.
- Slow down. Reducing the feed rate gives the laser more time to burn each point. Try 1000-1500 mm/min if 2000 mm/min is too faint.
- Clean the lens. Smoke residue on the laser lens reduces output. Gently clean the lens with a microfiber cloth and isopropyl alcohol.
Related Guides
- How to Use Sculpfun Laser Engravers on Mac — general guide for all Sculpfun models
- Best Dithering Algorithms for Laser Engraving
- Best Laser Engraver Software for Mac
- LightBurn Alternative for Mac
Get Started with Your C1 Mini on Mac
The Sculpfun C1 Mini is a capable little machine, and it works perfectly on macOS with the right software. Lumen is a native Mac app with a built-in C1 Mini preset, a 3-day free trial, and a one-time price of €9.99 — no subscription. Go from plugging in your C1 Mini to running your first engrave in minutes.