How to Use Sculpfun Laser Engravers on Mac
Published: April 7, 2026
Lùmen — for your Sculpfun on Mac
Built-in presets for Sculpfun C1 Mini, S30, S10, S9, S6. Image engraving with 7 dithering algorithms, SVG cutting, dual-layer workflow, real-time overrides. Native macOS, €9.99 one-time, no subscription. 3-day free trial.
You just unboxed a Sculpfun laser engraver, plugged it in, and realized the included software only runs on Windows. Sound familiar? Sculpfun officially supports LaserGRBL, a Windows-only application (see our LaserGRBL alternatives for Mac guide for more on this). But here is the good news: every Sculpfun machine speaks GRBL, an open protocol over USB serial. This means any Mac-compatible GRBL controller will work perfectly with your Sculpfun engraver.
This guide walks you through the entire setup process, from driver installation to your first engraving, using macOS.
Sculpfun on Mac — The Challenge
Sculpfun ships all their laser engravers with LaserGRBL, a free program built exclusively for Windows. If you search Sculpfun's official website for Mac software, you will not find one. Their documentation, tutorials, and support forums all assume you are running Windows.
However, Sculpfun machines are not locked to any specific software. Under the hood, they run a GRBL firmware that communicates over a standard USB serial connection. GRBL is the same open-source motion controller used by CNC routers, 3D printers, and laser engravers worldwide. Any software that speaks GRBL can drive your Sculpfun — regardless of operating system.
What you need is a macOS application that can open a serial connection, send GRBL commands, and convert your images and SVG files into G-code. Let us get your Sculpfun running on your Mac.
Step 1: USB Driver Installation
Sculpfun laser engravers connect to your computer via USB, using one of two common USB-to-serial converter chips:
- CH340 — used in most Sculpfun models (S9, S10, S30, S6)
- CP2102 — used in some newer models and the C1 Mini
macOS Sequoia and later (macOS 15+)
If you are running macOS Sequoia or newer, you are in luck. Apple now includes built-in drivers for both CH340 and CP2102 chips. Simply plug in the USB cable and macOS will recognize the device automatically. No driver installation needed.
Older macOS versions
If you are on macOS Sonoma (14) or earlier, you may need to install a driver manually. The CH340 driver is available from the WCH manufacturer website. Download the macOS version, run the installer, and restart your Mac. For CP2102, Silicon Labs provides a macOS driver on their website.
How to verify the connection
After plugging in your Sculpfun via USB:
- Open System Information (Apple menu → About This Mac → System Report)
- Navigate to Hardware → USB
- Look for a device named USB Serial, CH340, CP2102, or similar
If the device appears in the USB tree, the driver is working. If it does not show up, try a different USB cable (some cables are charge-only and lack data lines) or a different USB-C adapter/hub.
Step 2: Choose Your Software
Several Mac-compatible options exist for controlling GRBL laser engravers:
- LightBurn — cross-platform, feature-rich, one-time license ($99+ for the Core tier) with optional annual update renewal
- LaserWeb — free, browser-based, requires running a local Node.js server
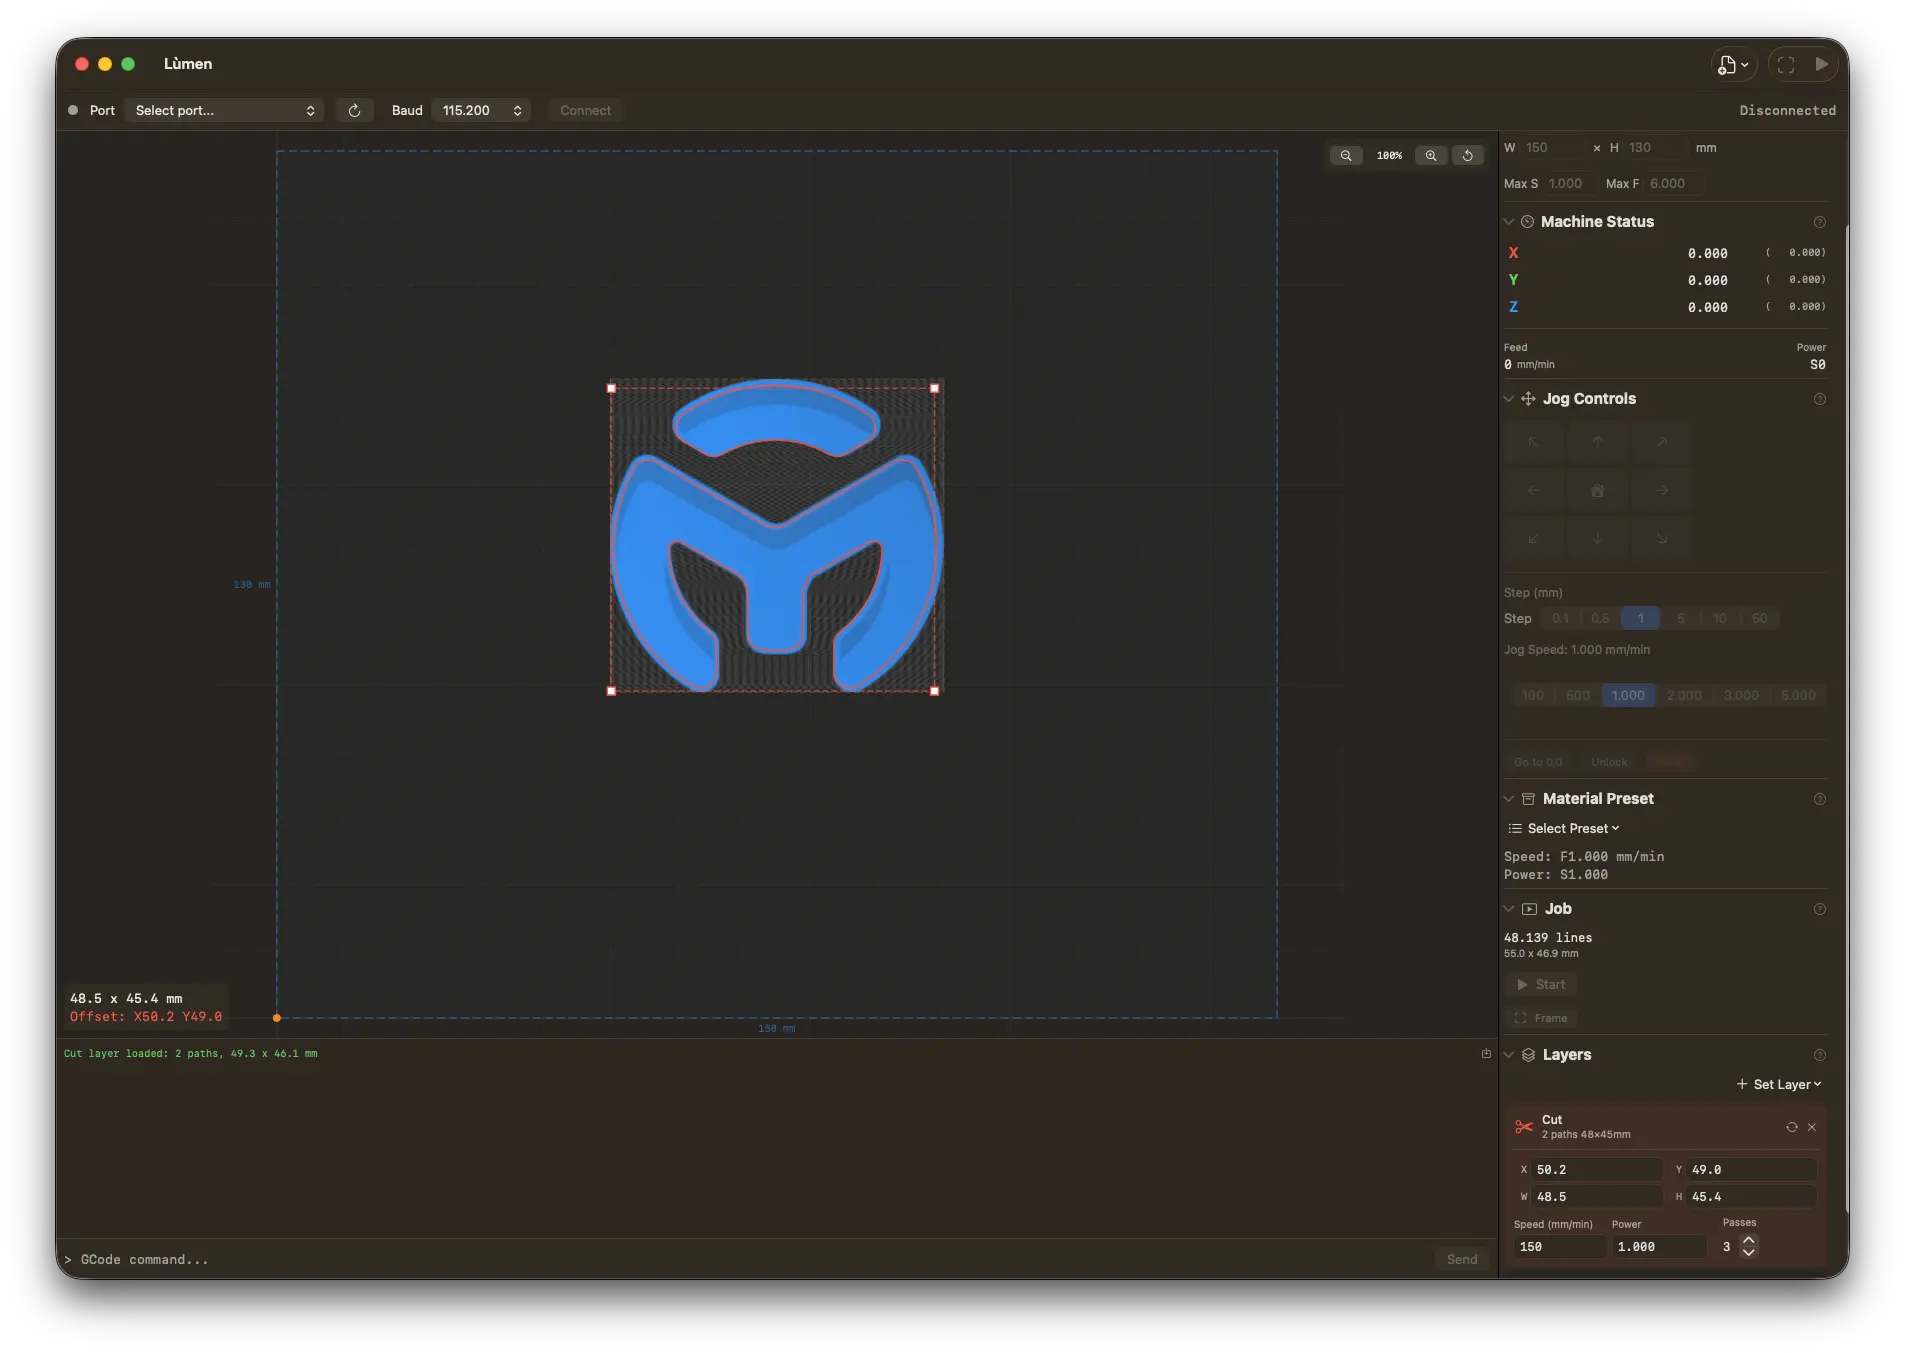
- Lùmen — native macOS app, built specifically for GRBL laser engravers, one-time purchase of €9.99
This guide uses Lùmen because it is purpose-built for this workflow. It is a native macOS app (Swift/SwiftUI) that includes built-in presets for all current Sculpfun models: S30, S30 Pro, S10, S9, S6, S6 Pro, and C1 Mini. Each preset configures the correct work area dimensions, maximum laser power, and speed limits automatically — no manual GRBL configuration needed.
You can download Lùmen here.
Step 3: Connect and Configure
- Plug in the USB cable from your Sculpfun to your Mac. Power on the engraver.
- Open Lùmen and look at the Connection section in the sidebar.
- Select the serial port from the dropdown. It will appear as something like
/dev/tty.usbserial-XXXXor/dev/tty.wchusbserial-XXXX. - Click Connect. You should see the GRBL welcome message (
Grbl 1.1hor similar) appear in the console. - Select your machine preset. Open the Machine section and choose your Sculpfun model from the preset list. This auto-configures:
- Work area size (e.g., 410 x 400 mm for the S30)
- Maximum spindle power ($30 value)
- Default feed rates
- Home the machine. Click the Home button or send
$Hin the console. The laser head will move to its limit switches and establish the coordinate origin. This is essential before your first job.
After homing, the status indicator should show Idle with coordinates at or near 0,0. Your Sculpfun is now ready to engrave.
Step 4: Your First Engrave
Let us start with a simple image engraving on a piece of scrap wood.
Import an image
Click Import Image and select a JPG or PNG file. A good first test is a high-contrast photo or logo — something with clear light and dark areas.
Choose a dithering algorithm
Laser engravers cannot produce shades of gray. Instead, they simulate tones by varying dot density, much like newspaper print. Lùmen offers 7 dithering algorithms. For your first engrave on wood, select Atkinson. It produces higher contrast with less fine detail, which tends to look better on natural materials and is more forgiving of imperfect focus.
Set power and speed
For a typical Sculpfun diode laser (5W optical power) engraving on untreated wood, start with these values:
- Speed (feed rate): 3000 mm/min
- Maximum power: 600 (out of 1000 S-value, i.e., 60%)
- Minimum power: 0
- Resolution: 8 lines/mm
These are conservative starting values. You can fine-tune later using Lùmen's built-in test pattern generator, which creates a power-vs-speed calibration grid to help you find the perfect settings for each material.
Position and frame
Drag the image on the canvas to position it within the work area. Use the Frame button to have the laser head trace the outline of your engraving area without firing the laser. This lets you verify the position and size on the actual material before committing.
Tip: enable the Laser Pointer during framing. The laser will fire at a very low power (S10), drawing a visible dot that traces the boundary on the material so you can see exactly where the engrave will land.
Start the job
Press Start. Lùmen begins a 5-second safety countdown (put on your laser safety goggles now), then homes the machine and starts engraving. You can monitor progress in real time on the canvas and adjust power and speed overrides on the fly if needed.
Step 5: SVG Cutting
Beyond raster engraving, Sculpfun machines excel at cutting thin materials like plywood, acrylic, and cardboard. For cutting, you work with vector files (SVG) instead of raster images.
- Import an SVG file using File → Import SVG. Lùmen parses paths, rectangles, circles, ellipses, arcs, and bezier curves.
- Set cut parameters: lower speed and higher power than engraving. For 3mm plywood with a 5W diode: try 300 mm/min at 100% power, 2 passes.
- Run the job. Cutting uses M3 (constant power) mode, which maintains consistent power even at corners and curves where the machine slows down.
Lùmen supports a dual-layer workflow: you can combine an engrave layer (raster image) and a cut layer (SVG) in the same project. The engrave runs first, then the cut — perfect for projects like engraved coasters or custom keychains with cut outlines.
Supported Sculpfun Models
All current Sculpfun laser engravers are GRBL-based and work with Lùmen. Here is a quick reference:
| Model | Laser Power | Work Area | USB Chip |
|---|---|---|---|
| S30 Pro Max | 20W optical | 410 x 400 mm | CH340 |
| S30 / S30 Pro | 5W / 10W optical | 410 x 400 mm | CH340 |
| S10 | 10W optical | 410 x 400 mm | CH340 |
| S9 | 5.5W optical | 410 x 420 mm | CH340 |
| S6 / S6 Pro | 5.5W / 6W optical | 410 x 420 mm | CH340 |
| C1 Mini | 3W optical | 160 x 160 mm | CP2102 |
If your specific model is not listed above, you can create a custom machine preset in Lùmen with your machine's exact work area and power settings.
Troubleshooting Common Issues
"No serial port found"
If no serial port appears in the dropdown after plugging in your Sculpfun:
- Try a different USB cable. Many USB cables included with laser engravers are low-quality or charge-only. Use a known data-capable cable.
- Try a different USB-C adapter. Some USB-C hubs do not pass through serial devices reliably. Connect directly to a port on your Mac if possible, or try a different hub.
- Check the driver. On macOS Sonoma or older, you may need to install the CH340 driver manually (see Step 1 above).
- Restart the engraver. Power cycle the Sculpfun, wait 5 seconds, then reconnect.
"ALARM:1" error
This is a hard limit alarm. It means the machine tried to move outside its defined work area, or it has not been homed yet.
- Send
$Xin the console to clear the alarm - Home the machine with
$Hbefore starting any job - Make sure your engraving or cut fits within the work area boundaries
Machine does not respond after connecting
If the serial port connects but you see no GRBL welcome message or garbled text:
- Check the baud rate. All current Sculpfun machines use 115200 baud. This is the default in Lùmen, but verify it is set correctly.
- Try a soft reset. Press Ctrl+X in the console, or disconnect and reconnect.
- Check the USB connection. Loose cables or faulty connectors can cause intermittent communication.
Engraving is misaligned or shifted
- Always home before engraving. Without homing, the machine does not know its position and coordinates will be wrong.
- Check belt tension. Loose belts on the X or Y axis cause the laser head to skip steps, resulting in shifted layers.
- Reduce speed. If you are running at very high speeds, the stepper motors may skip steps. Lower the feed rate and test again.
Tips for Better Results
- Focus the laser precisely. Use the focus gauge included with your Sculpfun. Even a 1mm difference in focus distance significantly affects engraving quality.
- Use the test pattern generator. Before engraving on expensive material, run a power/speed test grid on a scrap piece of the same material. This takes 5 minutes and saves you from ruined projects.
- Ventilation matters. Smoke and debris from engraving settle on the lens and material. Use a fan or air assist to blow smoke away from the cutting path.
- Try different dithering algorithms. Atkinson is a great starting point, but Floyd-Steinberg preserves more detail in photos, and Jarvis-Judice-Ninke produces smoother gradients. Experiment to find what works best for your material and image.
Related Guides
- Best Laser Engraver Software for Mac
- Best Dithering Algorithms for Laser Engraving
- LaserGRBL for Mac: Best Alternatives
Get Started
Your Sculpfun works perfectly on Mac — you just need the right software. Lùmen is a one-time purchase of €9.99 with no subscription, and includes built-in presets for every Sculpfun model so you can go from unboxing to engraving in minutes.